


Every Designer Needs A Digital Portfolio
Most designers have online profiles and websites highlighting some of their best work. But in a buyer’s marketplace it helps to have more than one way to promote yourself. Creating an attractive design portfolio with Adobe InDesign is a smart move every freelancer should consider making.
Having a digital version of your design portfolio can come in handy. For example, when submitting proposals for freelance work, attaching a copy of your digital portfolio can’t hurt your chances of landing the gig. Giving someone a PDF with linked assets lets them see your work interactively, setting you apart as professional.
Getting Started Using an InDesign Template
If you’re uneasy about using InDesign or happen to be suffering from a creative brain freeze, check out some of the free InDesign templates available from indesignskills.com.
Browsing their site, I located a minimalist 9-page landscape template for a photography portfolio whose layout and typography caught my eye. It doesn’t matter what kind of template you choose because the template is fully editable.

My Portfolio Design Approach
I approach working with an InDesign template similar to when I create a document from scratch. The main difference is some of the work has been done for me, but I’ll need to change it to make it fit my style.
Formatting the Master Layout Elements
After opening the downloaded template in InDesign and downloading and installing the suggested font (Spartan MB), I made some customizations to the style of the document. The color palette which came with the template did not work for my brand guidelines, so I replaced the rose shade with my preferred shade of orange.
Next, I adjusted the master pages by creating a B-spread with header and footer text on a dark background. For the A-spread pages, I added a colored shape as a page background.


Formatting the Cover and Portfolio Contents
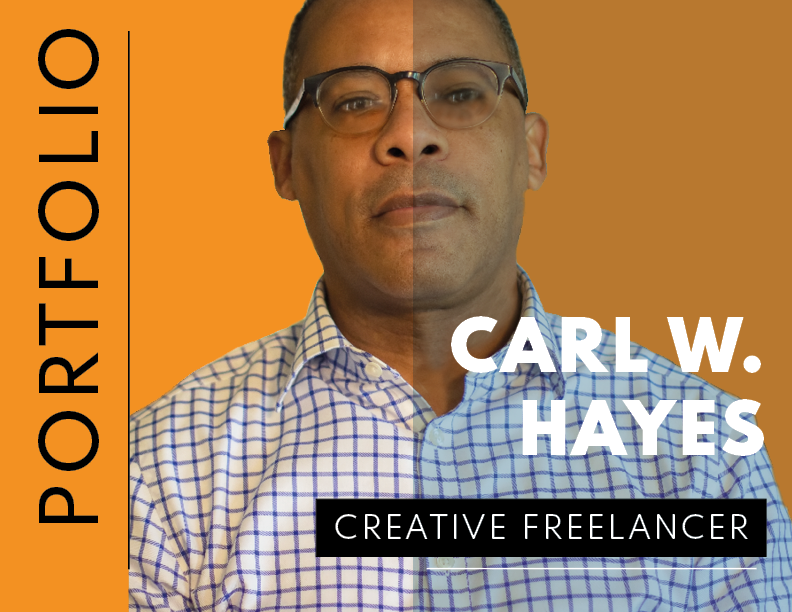
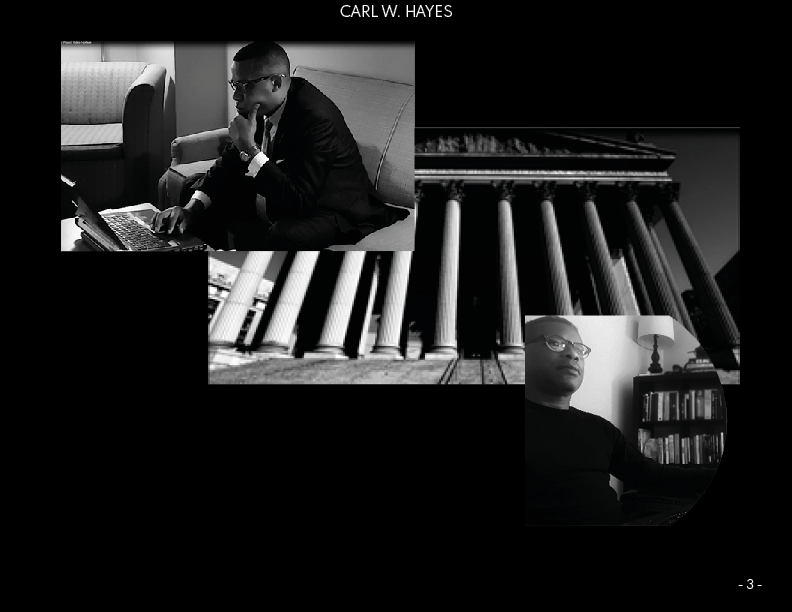
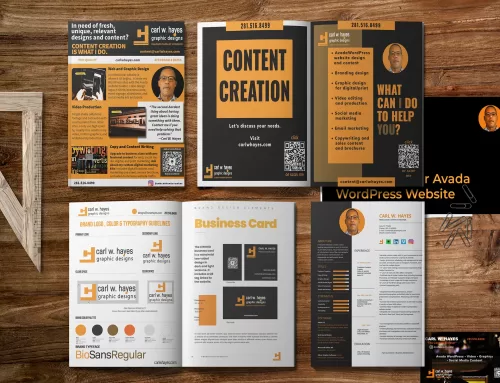
Customizing the cover was not difficult. After making some subtle changes to the cover typography, I uploaded a transparent image of myself which I use on my other marketing materials and placed it in the appropriate layer of the cover. I’m satisfied with my effort.

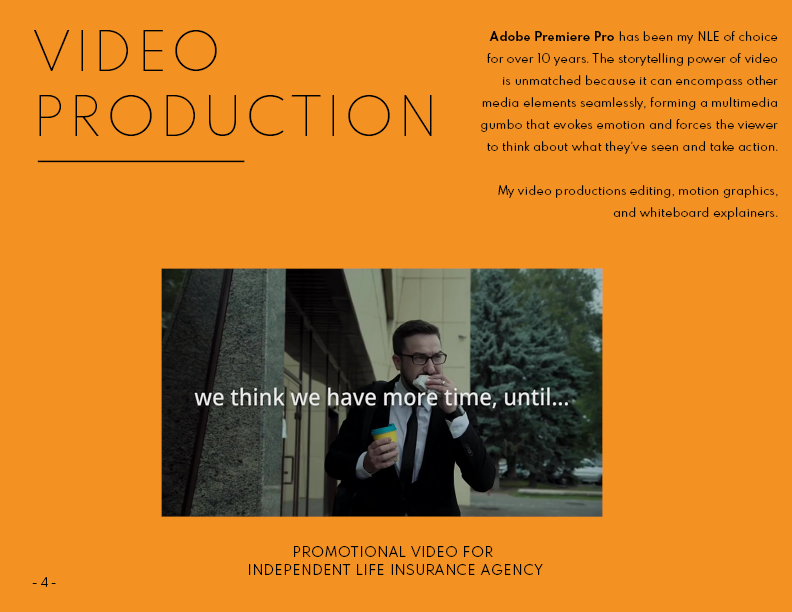
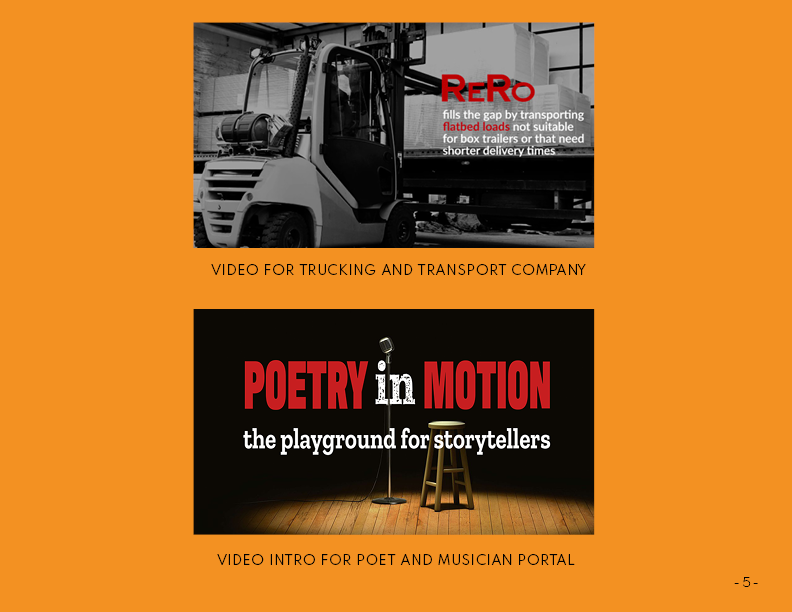
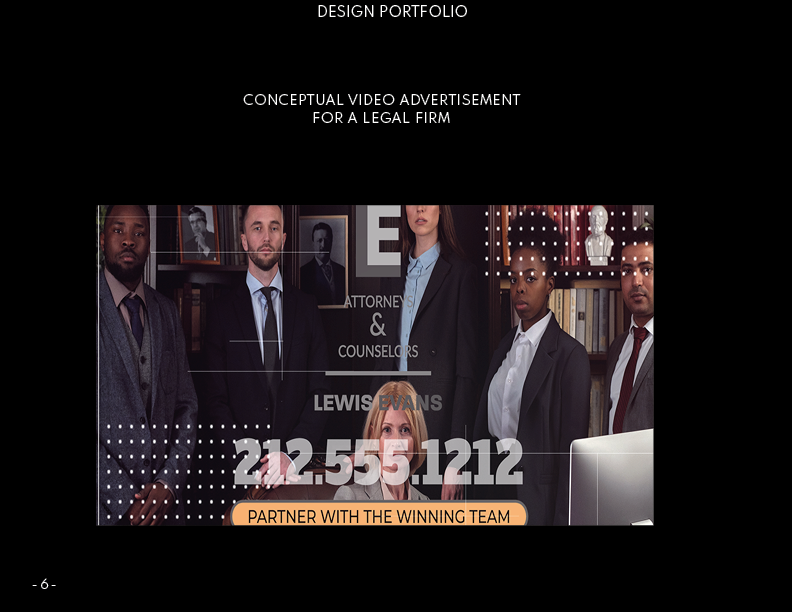
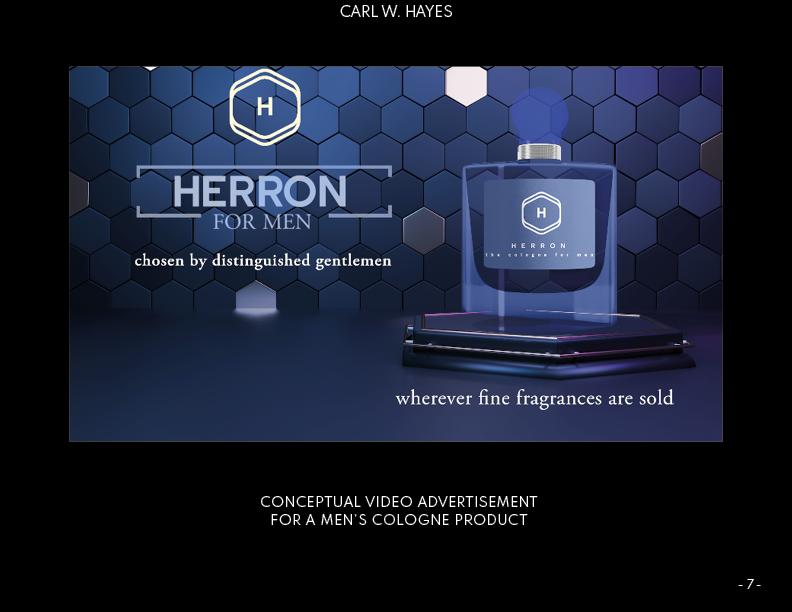
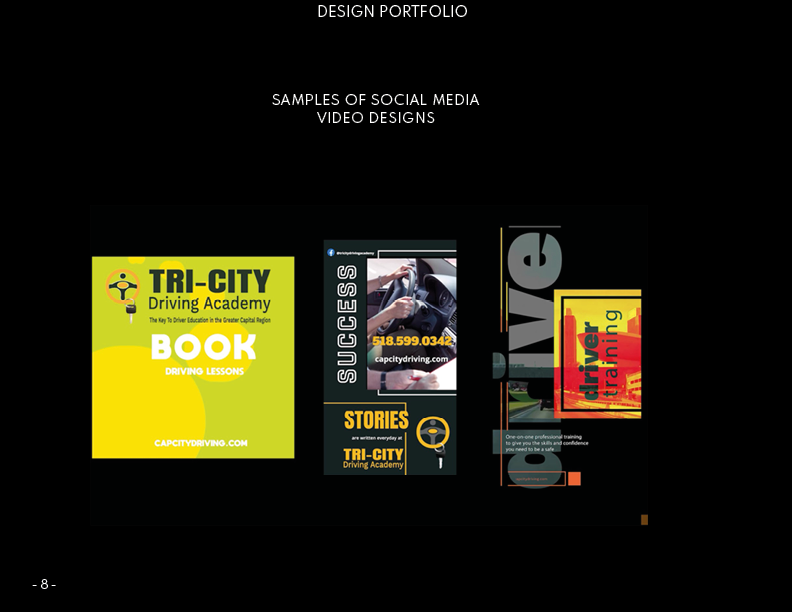
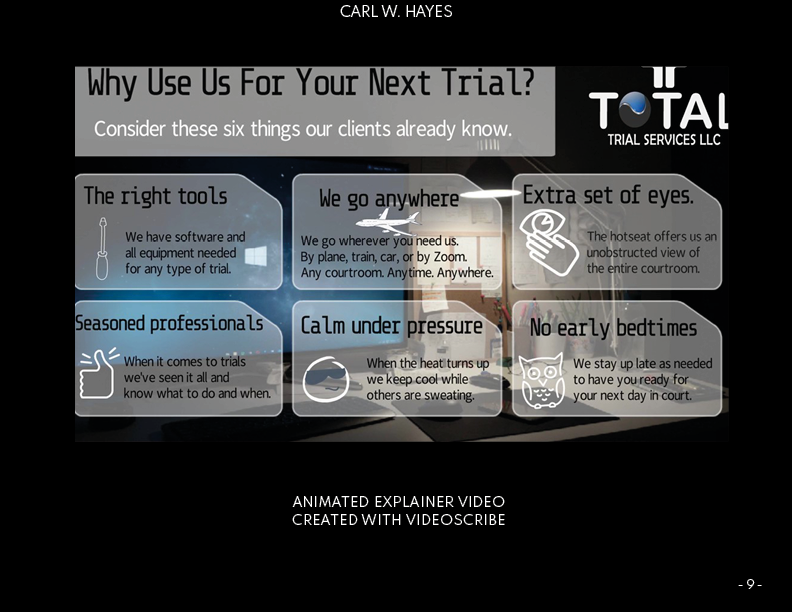
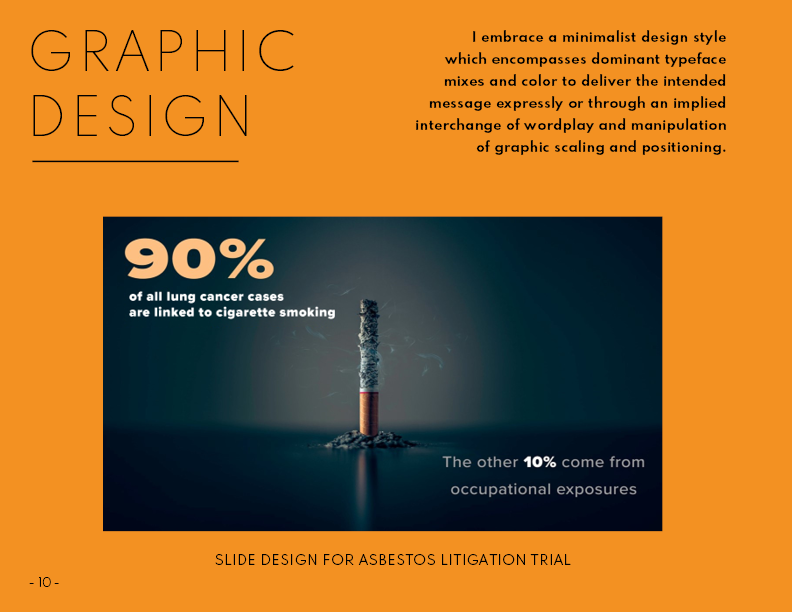
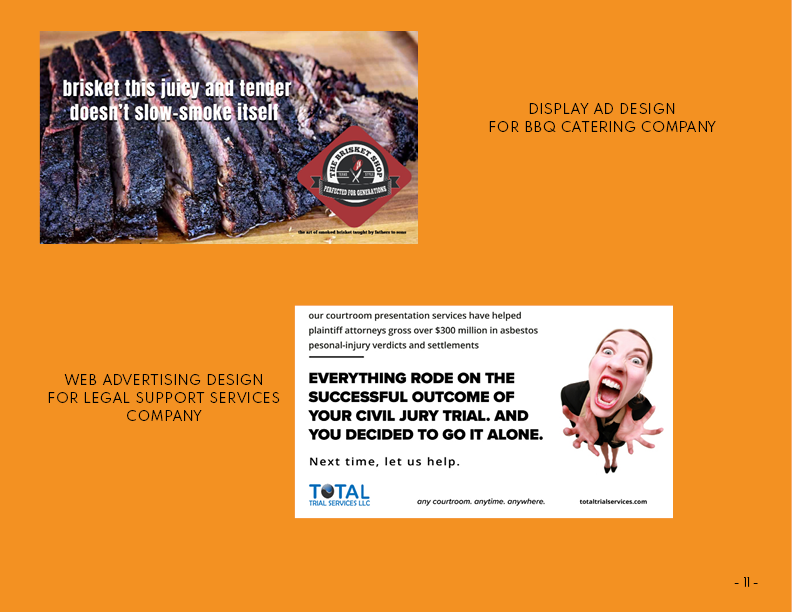
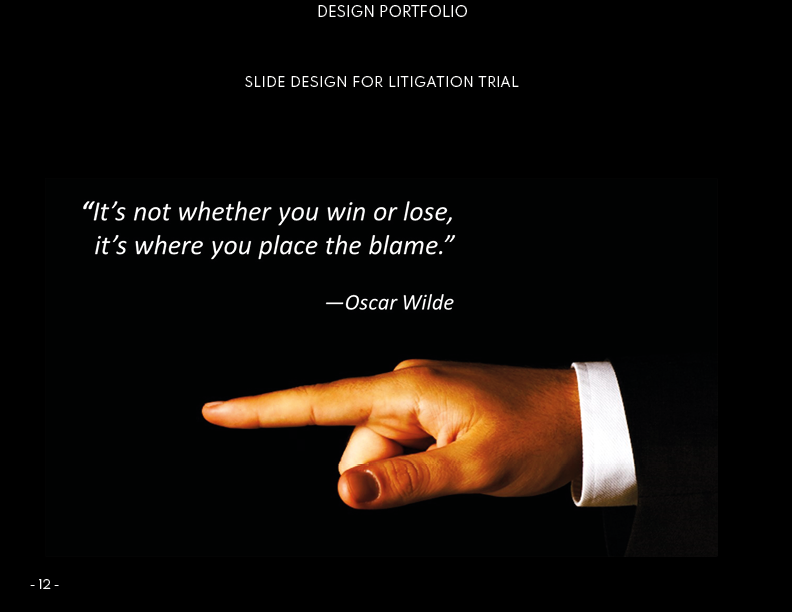
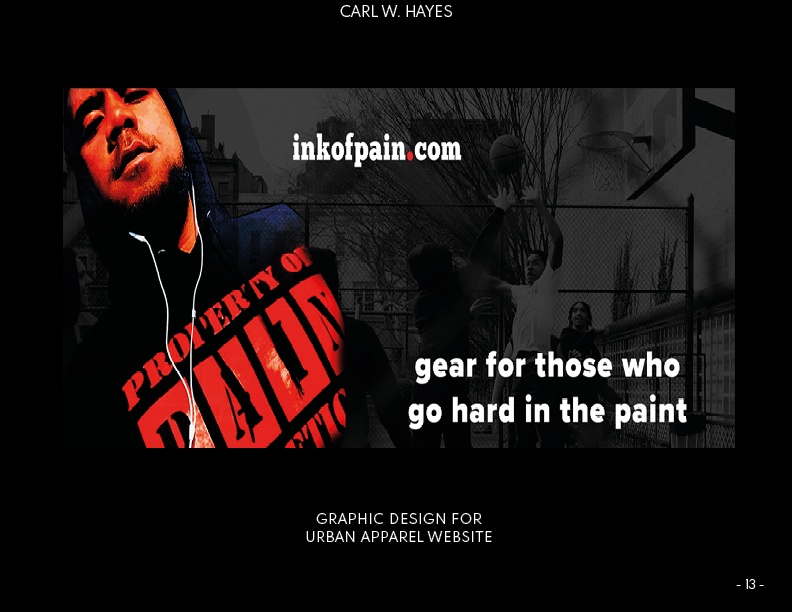
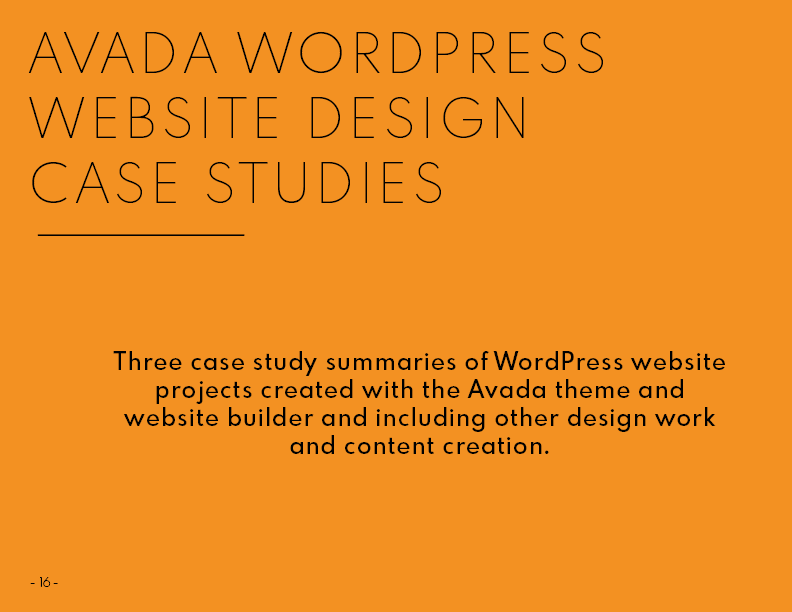
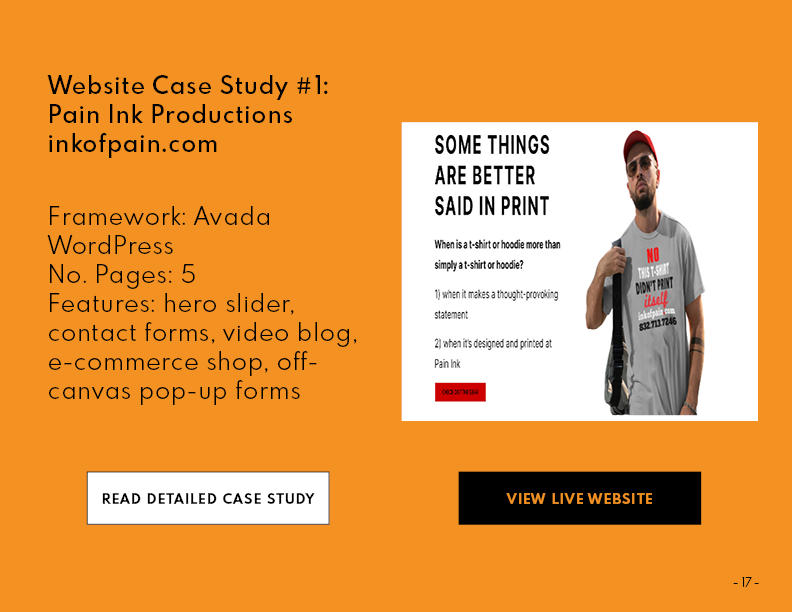
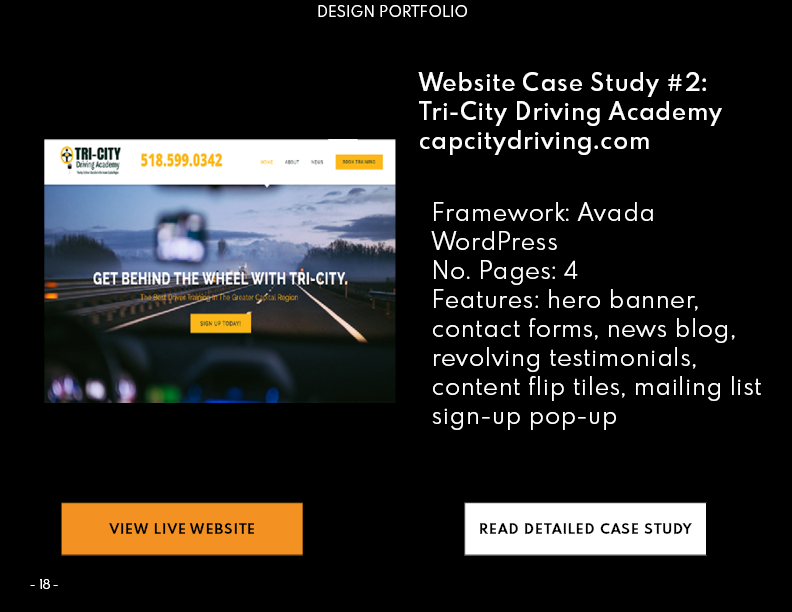
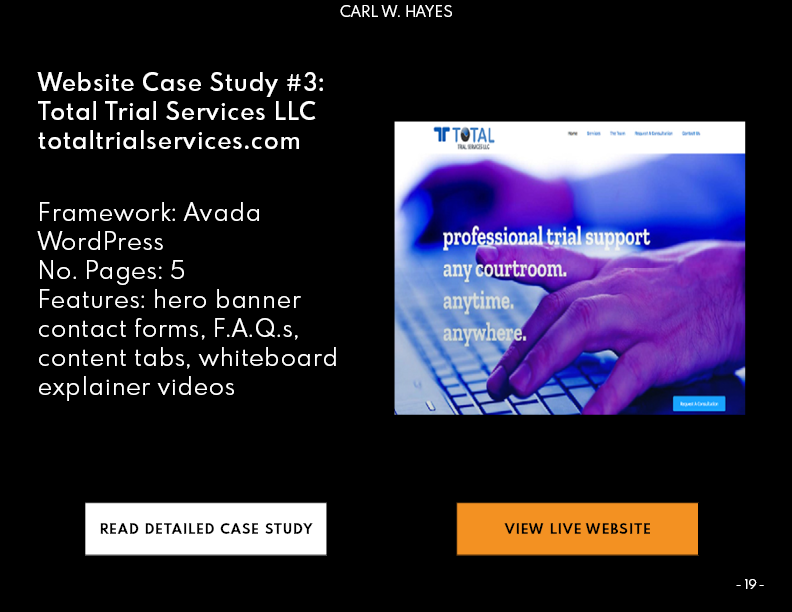
I formatted my titles for my three portfolio sections—Video Production, Graphic Design, and Avada WordPress Design Case Studies. Next, I laid out empty placeholders for my image content. After exporting my images from Photoshop for consistent sizing, I populated the placeholders.
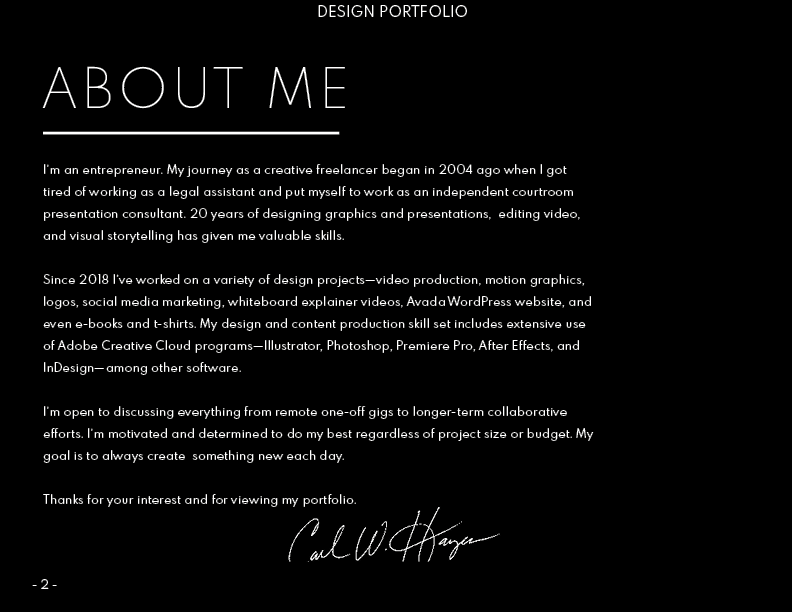
I’m also mindful to keep my descriptive text to a minimum except for the About Me page. This is a summary of my work. I’ll use interactivity to add voice to it.
Adding Links To Portfolio Images and Content
Adding hyperlinks to online video content and to relevant pages on my website portfolio is what makes the PDF more than just another digital document. If the recipient can click on a linked image and go straight to the online version of the work product in question, that’s when viewing my portfolio becomes an interactive experience. It also might help set me apart from my competition. I’ll take any edge I can get.
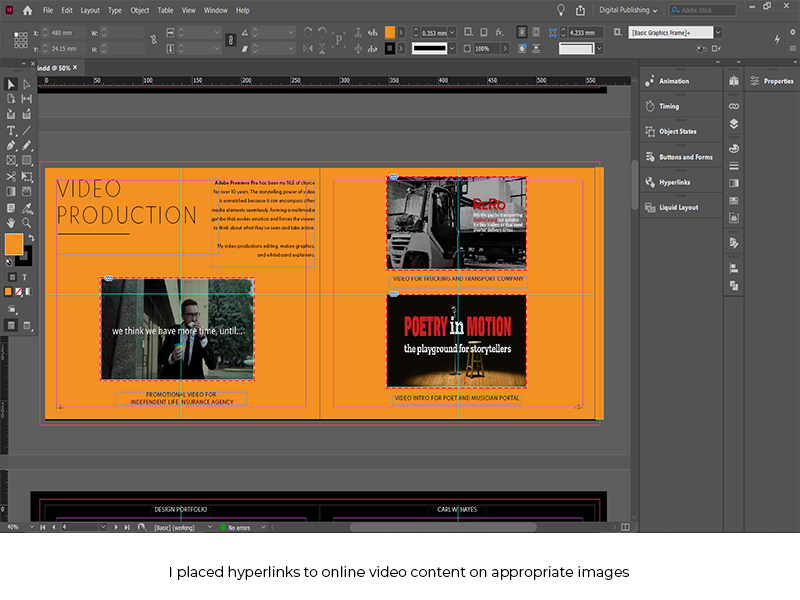
For other images such as logo designs and other graphics which don’t have any video content, I linked groups of images to the relevant page on my website portfolio, which keeps the interactivity experience in play. I use the last page of the portfolio include my website and contact information.
Exporting The InDesign Document To PDF
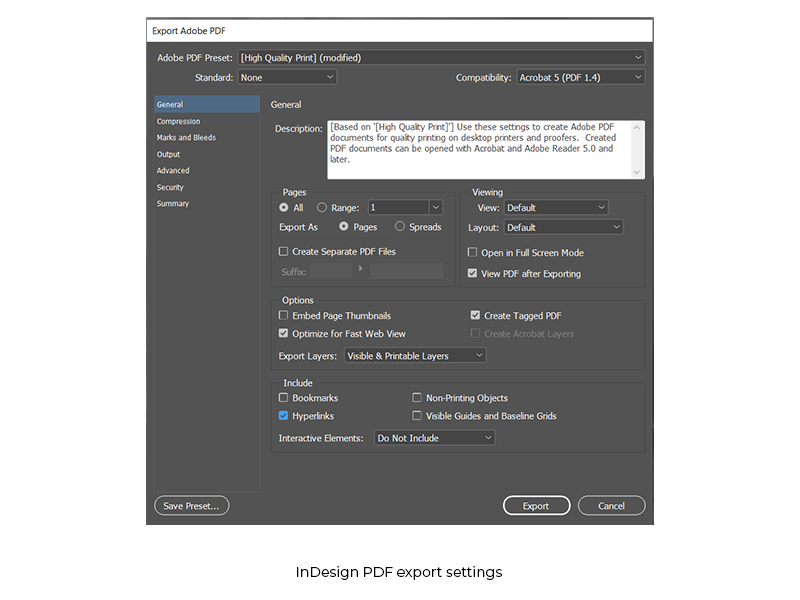
After checking my InDesign document for any reported errors with text boxes and linked images and doing a spell-check, I export the PDF using the high-quality print PDF setting, being careful to include hyperlinks. After looking over my exported PDF and ensuring the links exported correctly. I repeat the process using a lower quality setting to get a smaller file size just in case I run into size limitation issues when attaching my portfolio.
When I’m done, I have a 20-page interactive PDF which I can share with prospects via email or internet. I use Google Drive to host a downloadable copy with links on my website that prospective clients can download from here.
Using a simple, free InDesign template has allowed me to create a digital representation of my online design portfolio and given me yet another way to market myself as a creative freelancer.


Share This Story!
Related Posts


Every Designer Needs A Digital Portfolio
Most designers have online profiles and websites highlighting some of their best work. But in a buyer’s marketplace it helps to have more than one way to promote yourself. Creating an attractive design portfolio with Adobe InDesign is a smart move every freelancer should consider making.
Having a digital version of your design portfolio can come in handy. For example, when submitting proposals for freelance work, attaching a copy of your digital portfolio can’t hurt your chances of landing the gig. Giving someone a PDF with linked assets lets them see your work interactively, setting you apart as professional.
Getting Started Using an InDesign Template
If you’re uneasy about using InDesign or happen to be suffering from a creative brain freeze, check out some of the free InDesign templates available from indesignskills.com.
Browsing their site, I located a minimalist 9-page landscape template for a photography portfolio whose layout and typography caught my eye. It doesn’t matter what kind of template you choose because the template is fully editable.
My Portfolio Design Approach
I approach working with an InDesign template similar to when I create a document from scratch. The main difference is some of the work has been done for me, but I’ll need to change it to make it fit my style.
Formatting the Master Layout Elements
After opening the downloaded template in InDesign and downloading and installing the suggested font (Spartan MB), I made some customizations to the style of the document. The color palette which came with the template did not work for my brand guidelines, so I replaced the rose shade with my preferred shade of orange.
Next, I adjusted the master pages by creating a B-spread with header and footer text on a dark background. For the A-spread pages, I added a colored shape as a page background.
Formatting the Cover and Portfolio Contents
Customizing the cover was not difficult. After making some subtle changes to the cover typography, I uploaded a transparent image of myself which I use on my other marketing materials and placed it in the appropriate layer of the cover. I’m satisfied with my effort.
I formatted my titles for my three portfolio sections—Video Production, Graphic Design, and Avada WordPress Design Case Studies. Next, I laid out empty placeholders for my image content. After exporting my images from Photoshop for consistent sizing, I populated the placeholders.
I’m also mindful to keep my descriptive text to a minimum except for the About Me page. This is a summary of my work. I’ll use interactivity to add voice to it.
Adding Links To Portfolio Images and Content
Adding hyperlinks to online video content and to relevant pages on my website portfolio is what makes the PDF more than just another digital document. If the recipient can click on a linked image and go straight to the online version of the work product in question, that’s when viewing my portfolio becomes an interactive experience. It also might help set me apart from my competition. I’ll take any edge I can get.
For other images such as logo designs and other graphics which don’t have any video content, I linked groups of images to the relevant page on my website portfolio, which keeps the interactivity experience in play. I use the last page of the portfolio include my website and contact information.
Exporting The InDesign Document To PDF
After checking my InDesign document for any reported errors with text boxes and linked images and doing a spell-check, I export the PDF using the high-quality print PDF setting, being careful to include hyperlinks. After looking over my exported PDF and ensuring the links exported correctly. I repeat the process using a lower quality setting to get a smaller file size just in case I run into size limitation issues when attaching my portfolio.
When I’m done, I have a 20-page interactive PDF which I can share with prospects via email or internet. I use Google Drive to host a downloadable copy with links on my website that prospective clients can download from here.
Using a simple, free InDesign template has allowed me to create a digital representation of my online design portfolio and given me yet another way to market myself as a creative freelancer.